
My Latest Home Improvement Saga
There comes a point in time where you just say enough is enough and need to make a change. That is exactly what happened to me over Memorial Day weekend. My wife and I were tired of looking at our dark cabinets. I know... I know... "but they're cherry cabinets". I realize that. I also realize they make the house look dark and outdated. So it was time to go in a different direction. After watching many Youtube videos, I felt that I could tackle the job of painting our cabinets at home, DIY style. When I do "DIY" I try to make it look as professional as I possibly can. It had to last more than just a couple of years before start looking like they were falling apart, so off to the hardware store I go!
For this project, I needed quite a few things. Not super expensive, but they do start to add up.
List of materials:
De-glosser - I was skeptical of this product, because I have never used it before. It works! I used a scotchbrite pad and this chemical to take the gloss finish off of the cabinets and carcass.
Tack Cloth - These come in handy to get off every bit of dust that might be on your cabinets.
Primer - I bought a primer that has good adhesion to glossy surfaces even though I de-glossed.

After the first coat of primer is laid on and dry, I went over the cabinets to see if there were any dings and scratches. If there was any, I would fill them with wood putty, sand the entire cabinet door and recoat with another shot of primer.
Paint and Thinner - The paint I opted for was a thick, flat paint. My close friend Jason is a painter and suggested i use Sherwin Williams brand. To help the paint flow better in my sprayer, I used Floetrol.

Here is where I sit now with the cabinets:
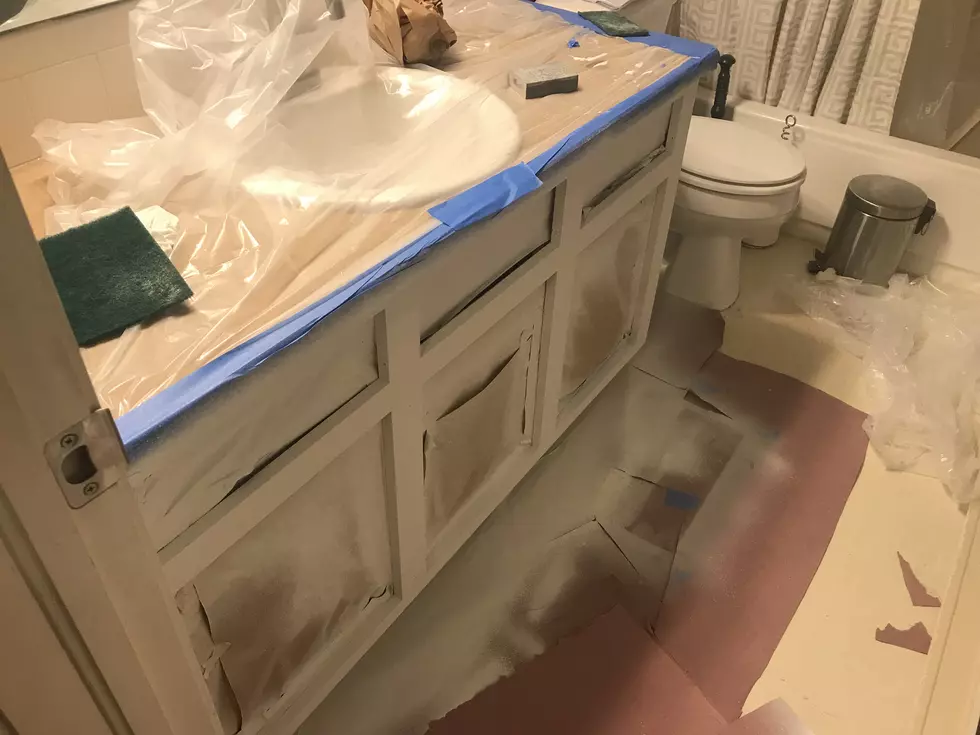

The carcass has two coats of primer and two coats of Sherwin Williams flat paint on it and ready for the sealer.
The drawer fronts and cabinet doors have one coat of primer on them as of right now.

Let me just take a second and say how much I adore this little thing! This was hands down one of the best home improvement purchases EVER! I have been repainting the doors and trim in my house to give them a cleaner look and this has been a huge time saver. Over the weekend I primed and painted 2 doors by hand. That took me probably 3 hours to do for just two doors start to finish. With this sprayer, I was able to knock out 5 doors in less than two hours!

I was able to pick it up on sale on Amazon for less than $90. This model normally sells for about $130 and if I knew how much of a time saver it would have been for me, I would have gladly paid full price for it. But, you know what they say.... Hindsight is always 20/20!
I am hoping to have the bathroom cabinets done by Friday night or Saturday morning. I still have to apply 3-4 coats of water-based polyurethane to give the cabinets a protective coat against the elements. After that, the new flooring will go into the bathroom and then my wife and I will start the big task of painting the kitchen cabinets. I will be sure to document that project more in depth when the time comes.
More From Retro 102.5